Characters — Unlock Conditions & Tier List
Vampire Survivors: Legacy of the Bloodmoon features an expanded roster of playable characters, each with unique starting weapons, passive bonuses, and unlock conditions. This page catalogues every survivor available in the DLC, explains how to add them to your roster, and ranks them in a community-driven tier list to help you choose the right character for any run.
How Character Unlocks Work
Characters in Legacy of the Bloodmoon are unlocked through a variety of methods: completing specific stages, reaching survival milestones, defeating particular bosses, discovering hidden coffins on the map, or meeting cumulative progression goals such as total gold earned or enemies defeated. Some characters are available from the start, while others require you to complete multi-step unlock chains that span several runs.
Coffin encounters remain a core unlock mechanic carried over from the base game. When you find a coffin on a Bloodmoon stage, approaching it triggers a wave of elite enemies that must be defeated before the coffin opens. Failing to clear the wave means the coffin despawns, but it will reappear in subsequent runs on the same stage. Several of the DLC's strongest characters are locked behind coffins found only in the later Bloodmoon stages, so building a powerful loadout before seeking them out is highly recommended.
A handful of secret characters have unlock conditions that are not listed anywhere in the game's menus. These hidden survivors are typically tied to Easter eggs, obscure item interactions, or specific actions performed during a Bloodmoon Eclipse event. Check our Codes & Secrets page for a full breakdown of every hidden character and their discovery conditions.
Full Character Roster and Starting Loadouts
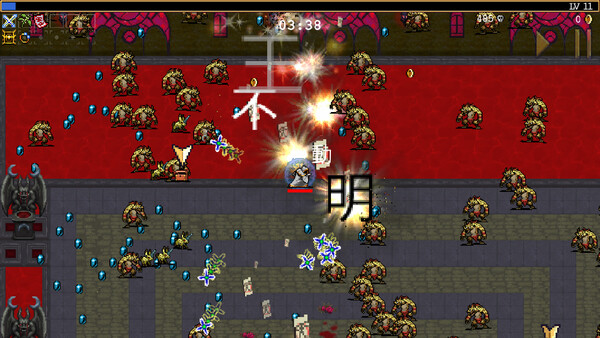
Each character in Legacy of the Bloodmoon begins a run with a signature starting weapon and a set of base stat modifiers that influence attributes like movement speed, might, max health, cooldown reduction, area of effect, and luck. These modifiers range from minor bonuses to dramatic stat reshuffles that fundamentally change how a run plays out. For example, some characters trade raw health for significantly increased projectile speed or damage output, while others stack defensive bonuses at the cost of slower offensive scaling.
The DLC introduces several new survivors alongside returning favorites from the base game. Newly added characters tend to start with Bloodmoon-exclusive weapons such as the Crimson Lash, Moonfire Orb, and Sanguine Tome, giving them immediate access to evolution paths that require DLC-specific passive items. Returning base-game characters retain their original starting weapons but benefit from the expanded passive item pool and new evolution recipes available in Bloodmoon stages.
When selecting a character, pay close attention to their passive bonus — it persists for the entire run and cannot be replaced. Characters with cooldown reduction or area bonuses tend to scale exceptionally well into the late game, while those with early-game power spikes in might or speed are better suited for speedrun attempts or stage-completion challenges.
Community Tier List
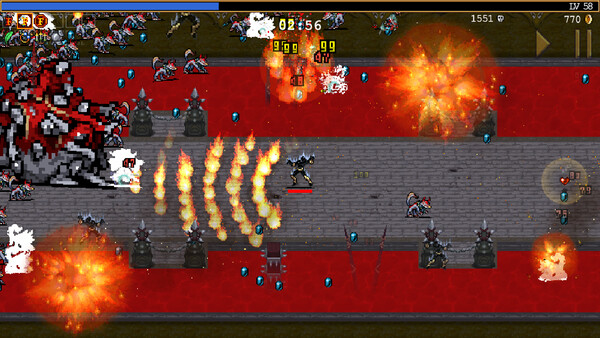
The community tier list ranks characters into five tiers — S, A, B, C, and D — based on their overall effectiveness in standard Bloodmoon survival runs, endgame scaling potential, and versatility across different stages. S-tier characters are those whose passive bonuses and starting weapons synergize so well with the DLC's top evolution paths that they consistently outperform alternatives in both casual and optimized play. A-tier characters are strong generalists that can carry any build, while B-tier characters shine in specific niches or with particular weapon setups.
Characters in C-tier and D-tier are not unplayable, but they require significantly more game knowledge or favorable item drops to reach the same power ceiling as higher-ranked survivors. Some C-tier characters have devoted fanbases who argue their placement should be higher when paired with very specific builds — and in many cases, they are right. Tier rankings shift as the community discovers new evolution synergies and as balance patches adjust base stats, so treat this list as a living document rather than an absolute verdict.
It is worth noting that tier placement assumes a solo run on standard difficulty. In co-op play, the tier landscape shifts considerably: characters with support-oriented passives like increased pickup radius or experience share become far more valuable, while glass-cannon characters that dominate solo runs may struggle without a teammate to draw aggro. Similarly, Hyper Mode and certain challenge modifiers can elevate otherwise niche characters into top-tier picks.
Stat Modifiers and Growth Scaling
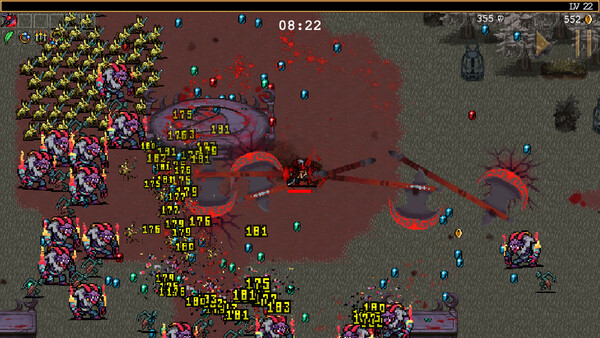
Every character's base stats are applied as percentage modifiers on top of the default stat template. A character listed with a positive might modifier deals more damage with all weapons from the very first level, and this bonus multiplies with any might increases gained through passive items or level-up bonuses during the run. This multiplicative stacking is why even small differences in base stats between characters can lead to dramatic performance gaps in the late game when dozens of passive bonuses have been accumulated.
Legacy of the Bloodmoon introduces a new stat category — Bloodmoon Affinity — exclusive to DLC characters. This stat influences how quickly a character charges the Bloodmoon Gauge during Eclipse events and determines the potency of Bloodmoon-triggered weapon transformations. Characters with high Bloodmoon Affinity can activate Eclipse bursts more frequently, making them particularly dominant on stages where the Bloodmoon cycle is central to survival.
Recommended Characters for New Players
If you are just starting Legacy of the Bloodmoon, begin with one of the default unlocked characters whose starting weapon has a straightforward attack pattern — ideally something with moderate area coverage and no aiming requirement. Characters that start with projectile-based weapons like whips, crosses, or orbs allow you to focus on movement and positioning rather than manually aiming, which is critical during the chaotic Bloodmoon Eclipse phases.
As you progress and unlock more of the roster, experiment with characters whose passive bonuses complement the weapon evolutions you enjoy most. The jump from a comfortable starter character to a higher-skill-ceiling pick can feel punishing at first, but the reward is access to significantly more powerful late-game builds. Once you have a feel for the game's pacing and enemy wave patterns, try an S-tier or A-tier character with a Bloodmoon-exclusive starting weapon to experience the full depth of the DLC's evolution system.