Best Builds & Weapon Combos
Building the right weapon and passive item combination is the key to surviving Legacy of the Bloodmoon's punishing later stages. This guide covers the most effective evolution paths, synergy loadouts, and progression strategies to help you clear even the toughest Bloodmoon encounters.
Understanding Weapon Evolutions
Weapon evolutions are the backbone of every successful run in Legacy of the Bloodmoon. Each base weapon can be evolved into a significantly more powerful form by pairing it with a specific passive item and then opening a chest once both are at maximum level. Evolved weapons gain enhanced area coverage, additional projectiles, or entirely new attack behaviors that can turn a struggling run into a dominant one. Planning your evolution targets from the very first level-up choice is essential for consistent late-game performance.
The Bloodmoon expansion introduces several new evolution paths that interact with the Bloodmoon gauge mechanic. These evolved weapons gain bonus effects when the Bloodmoon meter is active, such as increased attack frequency or lifesteal properties. Prioritizing at least one Bloodmoon-reactive evolution in every build ensures you can capitalize on the gauge rather than simply enduring it.
Keep in mind that you can only carry a limited number of weapon and passive slots. Every evolution requires one weapon slot and one passive slot to be committed, so planning which evolutions to pursue — and which standalone items to keep — is a critical decision that shapes your entire run.
Top-Tier Builds for Solo Play
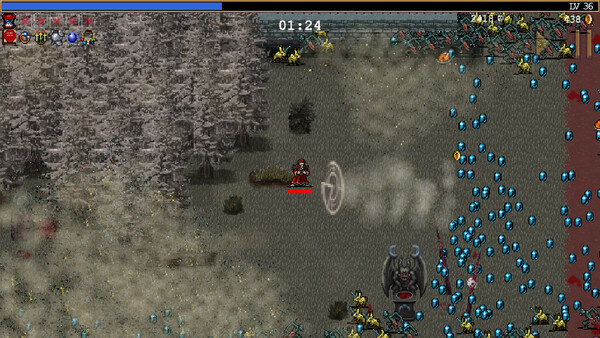
The most reliable solo build focuses on stacking area-of-effect evolutions that cover the screen with persistent damage zones. Combining wide-radius evolved weapons with passive items that boost area and duration creates a defensive perimeter that eliminates most enemies before they can reach you. This approach excels on open maps where kiting is viable and allows you to safely farm experience through the mid-game power spike.
For players who prefer an aggressive playstyle, a projectile-focused build that emphasizes attack speed and projectile count can clear waves faster at the cost of requiring more precise positioning. Pairing high-velocity evolved weapons with movement speed passives lets you weave through enemy formations while your projectiles tear through clusters. This build reaches its peak power slightly earlier than the AoE approach but demands more active play to avoid getting surrounded.
A third strong option is the sustain build, which pairs moderate damage output with healing and damage-reduction passives. This loadout is particularly effective during Bloodmoon phases, where incoming damage spikes dramatically. Characters with innate defensive bonuses benefit the most from this approach, and it remains one of the safest strategies for first-time clears of the harder stages.
Bloodmoon-Specific Synergies
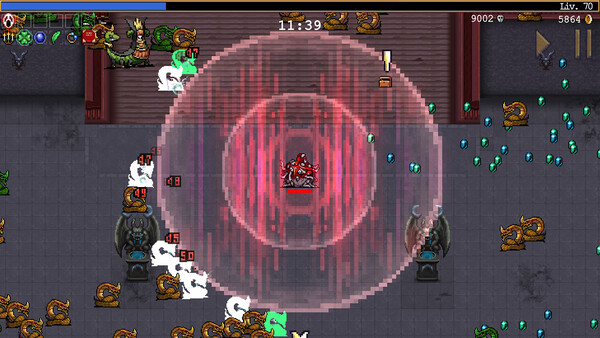
Legacy of the Bloodmoon introduces passive items and weapon evolutions that specifically interact with the Bloodmoon gauge. When the gauge fills and the Bloodmoon phase activates, these items gain substantial power boosts that can flip a desperate situation into a screen-clearing moment. Building around these synergies is essential for tackling the expansion's unique endgame challenges, where Bloodmoon phases become longer and more frequent.
The strongest Bloodmoon synergy pairs weapons that gain lifesteal during the Bloodmoon phase with passives that extend its duration. This creates a feedback loop where the increased enemy density during Bloodmoon actually sustains your health rather than draining it. Combining this core with any high-hit-count evolved weapon maximizes the number of lifesteal procs per second, turning you into an almost unkillable force for the duration of the phase.
Players should also experiment with the new Bloodmoon-exclusive evolutions, which can only be triggered by opening chests during an active Bloodmoon phase. These special evolutions offer unique visual effects and powerful attack patterns not available through standard evolution paths, and discovering all of them is part of the expansion's extended progression.
Passive Item Priority and Pickup Order
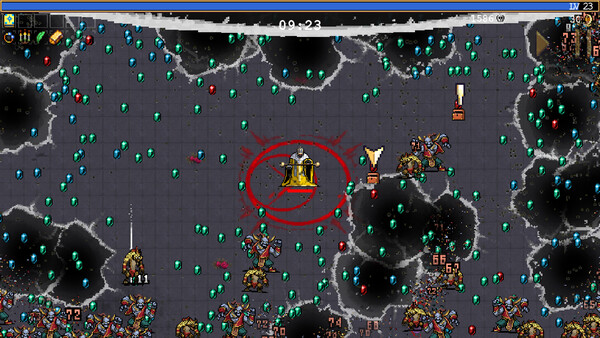
Choosing the right passive items — and picking them up in the right order — can make or break a run. Early-game passive priorities should focus on experience gain and movement speed, which accelerate your leveling curve and keep you alive while your weapons are still weak. Transitioning into damage-scaling passives in the mid-game ensures your evolved weapons hit hard enough to handle the increasing enemy health pools.
A common mistake is locking in all six passive slots before reaching the mid-game. Keeping one or two passive slots open gives you flexibility to adapt to what the level-up RNG offers. If a rare or powerful passive appears that enables a second evolution path, having an open slot lets you pivot your build without sacrificing an already-invested item. Once you commit to your final loadout, focus on maxing each passive to unlock your planned evolutions as quickly as possible.
Adapting Builds to Different Stages
Not every build works equally well on every stage. Open stages with wide corridors favor projectile-heavy builds that can strike enemies at range, while cramped stages with narrow pathways reward area-denial weapons that create chokepoints of damage. Before starting a run, review the stage layout and enemy composition to select a character and weapon combination that matches the encounter design.
The expansion's later stages introduce elite enemy variants with resistances to specific damage types. Running a build that relies entirely on a single damage category can hit a wall against these foes. Diversifying your evolved weapons across at least two damage types ensures consistent clear speed regardless of which elite variants spawn. Pairing a physical-damage evolution with an elemental one is a straightforward way to maintain coverage.
For the final Bloodmoon stages, consider builds that sacrifice raw damage for crowd control and survivability. These encounters throw overwhelming numbers at you with very little breathing room, and the ability to slow, knock back, or freeze enemies often matters more than pure damage output. Evolved weapons with built-in crowd control effects become top-tier picks in this context, even if they rank lower on general tier lists.