Advanced Tips & Hidden Mechanics
This page dives deep into the hidden mechanics, optimization techniques, and endgame strategies that separate experienced survivors from true Bloodmoon masters. If you already understand the basics of weapon evolutions and character progression, the knowledge here will help you push past the late-game wall and thrive in the most punishing Bloodmoon stages.
Understanding the Damage Pipeline
Every source of damage in Legacy of the Bloodmoon passes through a multi-step calculation before it actually reduces an enemy's health. Base weapon damage is first modified by the character's Might stat, then multiplied by any active passive-item bonuses, and finally adjusted by enemy-specific resistances. Critically, flat damage bonuses from certain Bloodmoon relics are applied after percentage-based Might scaling, which means they become proportionally less impactful the higher your Might climbs. Understanding this order of operations is essential for deciding whether to stack more percentage-based power or lean into flat-damage sources during a run.
Area-of-effect and projectile-count modifiers interact with the damage pipeline in a way that is often misunderstood. Increasing projectile count does not split damage across each projectile — every individual projectile deals the full calculated damage. Area increases, meanwhile, expand the hitbox without altering per-hit damage. This makes projectile count one of the strongest multiplicative scaling stats in the game, especially when combined with weapons that already pierce through multiple enemies per projectile.
Luck Manipulation and Drop Mechanics
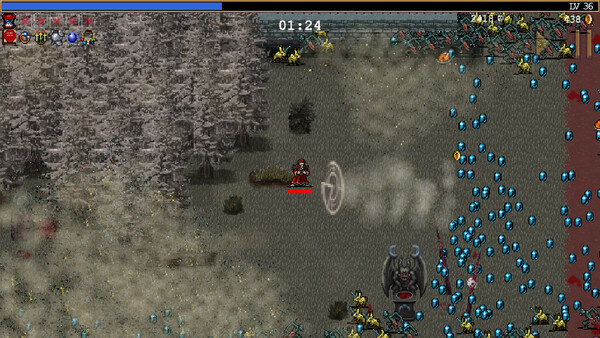
The Luck stat governs far more than just treasure chest quality. It directly influences the probability of higher-tier item offerings when you level up, the spawn rate of elite enemies that carry bonus experience gems, and the chance for destructible stage objects to drop healing items. Stacking Luck early in a run — particularly through passive items acquired in the first few minutes — can create a compounding advantage that accelerates your entire progression curve.
One commonly overlooked interaction involves the Bloodmoon Tide events. During a Tide, the game temporarily adjusts the internal drop table, increasing the weight of rare and evolution-eligible items in level-up pools. Players who intentionally bank experience gems and level up during a Tide window can dramatically increase their chances of being offered the exact items they need to complete an evolution recipe. Timing your pickups around Tide cycles is one of the highest-skill optimizations available in the expansion.
Floor pickups such as gems and healing items have a brief invulnerability period after spawning where they cannot be vacuumed by the Magnet stat. This delay is consistent regardless of your Magnet radius, meaning that extremely high Magnet values do not actually accelerate the collection of newly dropped items — they only extend the range at which already-collectible items are pulled. Keep this in mind when deciding how much Magnet investment is worthwhile relative to other stats.
Optimal Leveling Routes and Economy
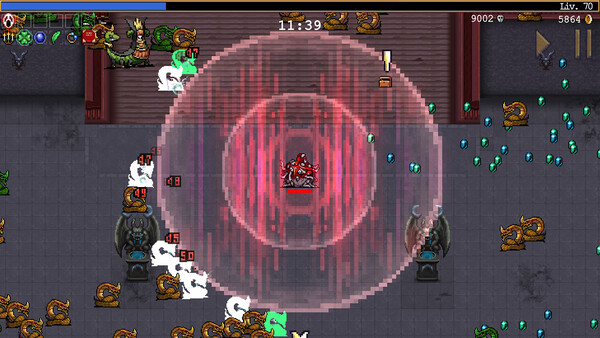
Experience distribution in Legacy of the Bloodmoon is not purely linear. Enemies spawned in later waves grant significantly more experience per kill than early-wave enemies, but they also arrive in denser formations. Weapon choices that handle crowd density efficiently — wide-arc melee sweeps, persistent ground effects, and chain-lightning style projectiles — yield faster experience gain than high single-target damage in nearly all scenarios. Prioritize crowd-clearing evolutions over burst-damage evolutions for the majority of your run.
Gold found during a run serves a dual purpose: it contributes to your permanent account progression between runs and also feeds into certain Bloodmoon-specific in-run mechanics like the Merchant shrines. Experienced players have noticed that routing through gold-dense areas of the map early on allows them to reach Merchant shrine thresholds sooner, unlocking powerful mid-run purchases that can define the rest of the build. Studying each stage's map layout for gold cluster positions is a worthwhile investment of your time.
Bloodmoon Endgame Survival Strategies
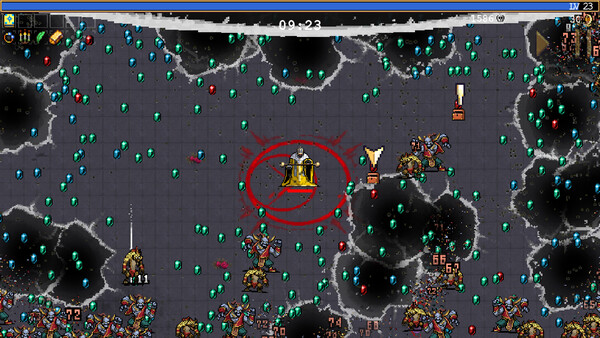
Once you cross the late-game threshold — typically around the final ten minutes of a standard Bloodmoon stage — the enemy scaling begins to outpace even fully evolved weapon loadouts. At this point, survival shifts from pure offense to a balance of defensive layering and strategic positioning. Armor-reducing auras, knockback effects, and freeze or slow debuffs become critical for controlling the relentless enemy swarm. Players who neglect defensive utility in their builds often find themselves overwhelmed regardless of raw damage output.
Positioning during endgame waves is arguably more important than your build itself. Kiting in wide circles around the stage perimeter gives your projectiles maximum travel distance and prevents corner-trapping. When facing Bloodmoon Elder boss encounters specifically, maintaining a mid-range distance is key — too close and their area denial abilities become unavoidable, too far and your weapon hitboxes may not overlap efficiently. Learning each Elder's telegraph patterns and adjusting your orbit radius accordingly is the difference between a clean clear and a failed run.
Revival mechanics in the Bloodmoon expansion deserve special attention. Unlike the base game, certain characters and relic combinations allow for conditional revivals that restore you with temporary invulnerability and a burst of area damage. Planning your revival triggers as a deliberate part of your strategy — rather than treating them as a panic button — lets you use them offensively during the most dangerous Elder phases. Some of the fastest recorded clears rely on intentional revivals to skip through otherwise deadly transition windows.
Hidden Interactions and Undocumented Mechanics
Several weapon evolution combinations in Legacy of the Bloodmoon trigger bonus effects that are not described in any in-game tooltip. When specific evolved weapons are equipped simultaneously, they can generate synergy auras, bonus projectiles on critical hits, or passive stat buffs that apply silently. The community has catalogued many of these hidden synergies, and checking for them before locking in your final build can provide a meaningful power boost that no single item swap can match.
The Bloodmoon cycle itself — the red-tinted phases that periodically wash over each stage — alters more than just enemy spawns. During a Bloodmoon phase, all cooldown timers for weapons tick slightly faster, and the experience multiplier for kills increases. This is not communicated through any UI element, but experienced players can feel the difference in weapon fire rate. Leaning into aggression during Bloodmoon phases and playing defensively during calm phases creates a natural rhythm that maximizes both damage output and survivability across a full run.
Finally, the order in which you pick up passive items at level-up can influence the seed used for subsequent level-up offerings. While not fully deterministic, the community has observed patterns suggesting that choosing certain item categories in sequence nudges the next offering pool in a predictable direction. This quasi-seeding mechanic is still under active research, but players looking to min-max their builds should pay attention to item selection order as one more variable they can influence.